Bone folder, heat gun, antistatic
pad, vellum for stamping and die cutting, White Linen Card, Versacolor white
Pigment Ink, White Embossing Powder, Zig markers – Evergreen, Wheat, Pure
Orange, Pure Brown, Twine.
I
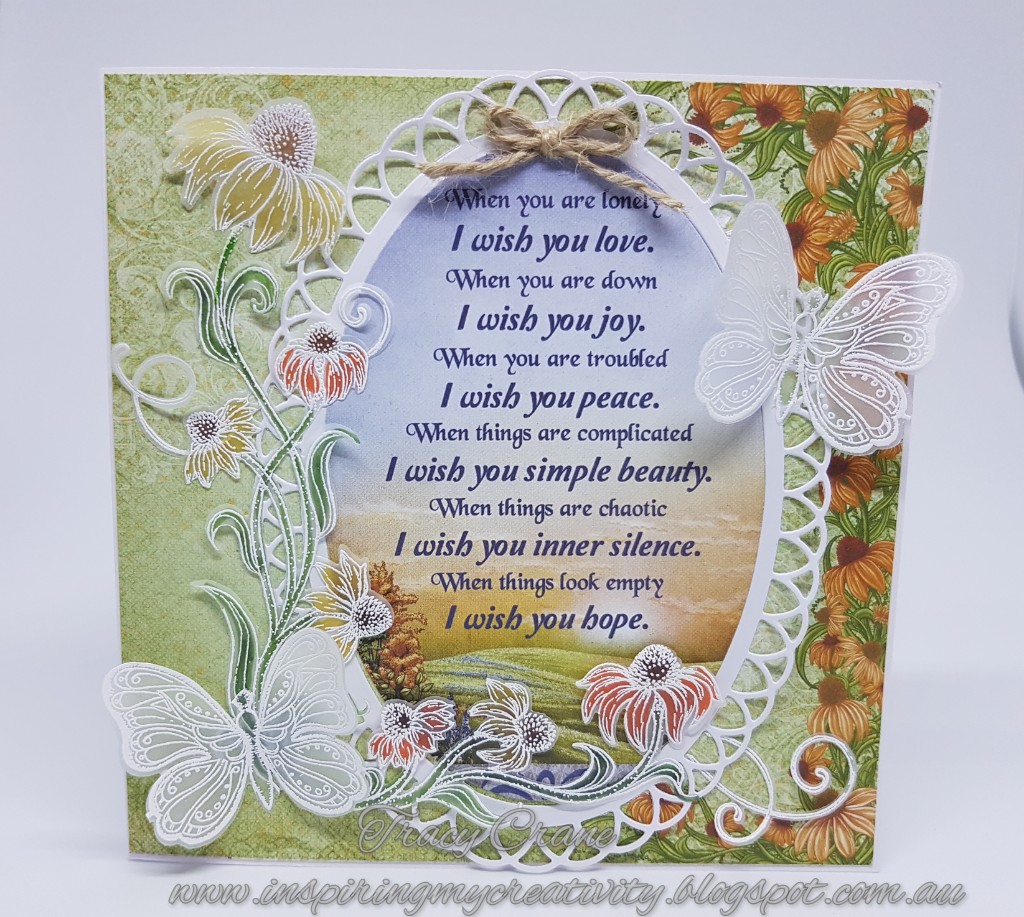
like to do all my die cutting, shaping and coloring first. Die cut your Eyelet Oval die with the center
also cut out on white cardstock. TIP: Use an antistatic pad to wipe your vellum
first before stamping, it creates a static free environment so that only your
stamped image is embossed. Using the Blossoming Coneflower and Butterfly
Kisses Stamp sets stamp your images using your White Versacolor Ink, then
cover completely in white embossing powder, shake of the excess and heat with
your heat gun, don’t get too close to your vellum or it will get a brown
tinge. I have colored the Coneflower border using Zig markers. When coloring
on vellum use a permanent marker, I like to color on the back of the image
for a neater effect. I have used the Evergreen for the leaves and stems, the
Wheat and Pure Orange for the flowers and the Pure Brown for the flower
centers.
Cut your card base using the white cardstock 12 ¼”
x 6 1/8”. Fold your card in half, I like to run a bone folder over the spine of
the card to give it a clean finish. Trim the selected cardstock from the
Backyard Blossoms Paper Collection 6” x 6”. Using the selected quote from the
Heartfelt Love Paper Collection, note you will be using your Eyelet Oval &
Basics Die, this swill cut slightly into the image below and will slightly miss
at the top, so take care when cutting out the image.
Now you have all your elements done, you can
complete your card. Adhere your patterned background mat to your card
front. Adhere your Eyelet Oval die cut
slightly to the right of your card front, adhere the quote lined up in the
center of the die cut (if it slightly missed the top, this is where you will
adhere your twine bow). Adhere the
flower border as pictured, I have placed the glue on the stems and at the base
of the flower, this leaves the flower buds raised slightly. I have trimmed of the flourish pieces of the
butterflies. Adhere the butterflies with adhesive only down the center of the
butterflies so the wings can be folded up. Using the off cut flourishes adhere as desired or as pictured.
Tie a small twine bow and adhere in the top center of your oval die cut.
Happy Crafting
Tracy C x x
|
|


This is so beautiful; it makes my heart sing!
ReplyDeleteSo beautiful Tracy! I love the white embossing and I love the vellum butterflies!!
ReplyDeleteWow...this is so beautiful Tracy! Love the embossed flowers and butterflies!
ReplyDeleteBeautiful card Tracy love the white embossed flowers and butterfly great idea love the verse
ReplyDeleteThanks ladies x
ReplyDelete